Innovation & Best Practices Rotoclear Insights
No more flying blind!
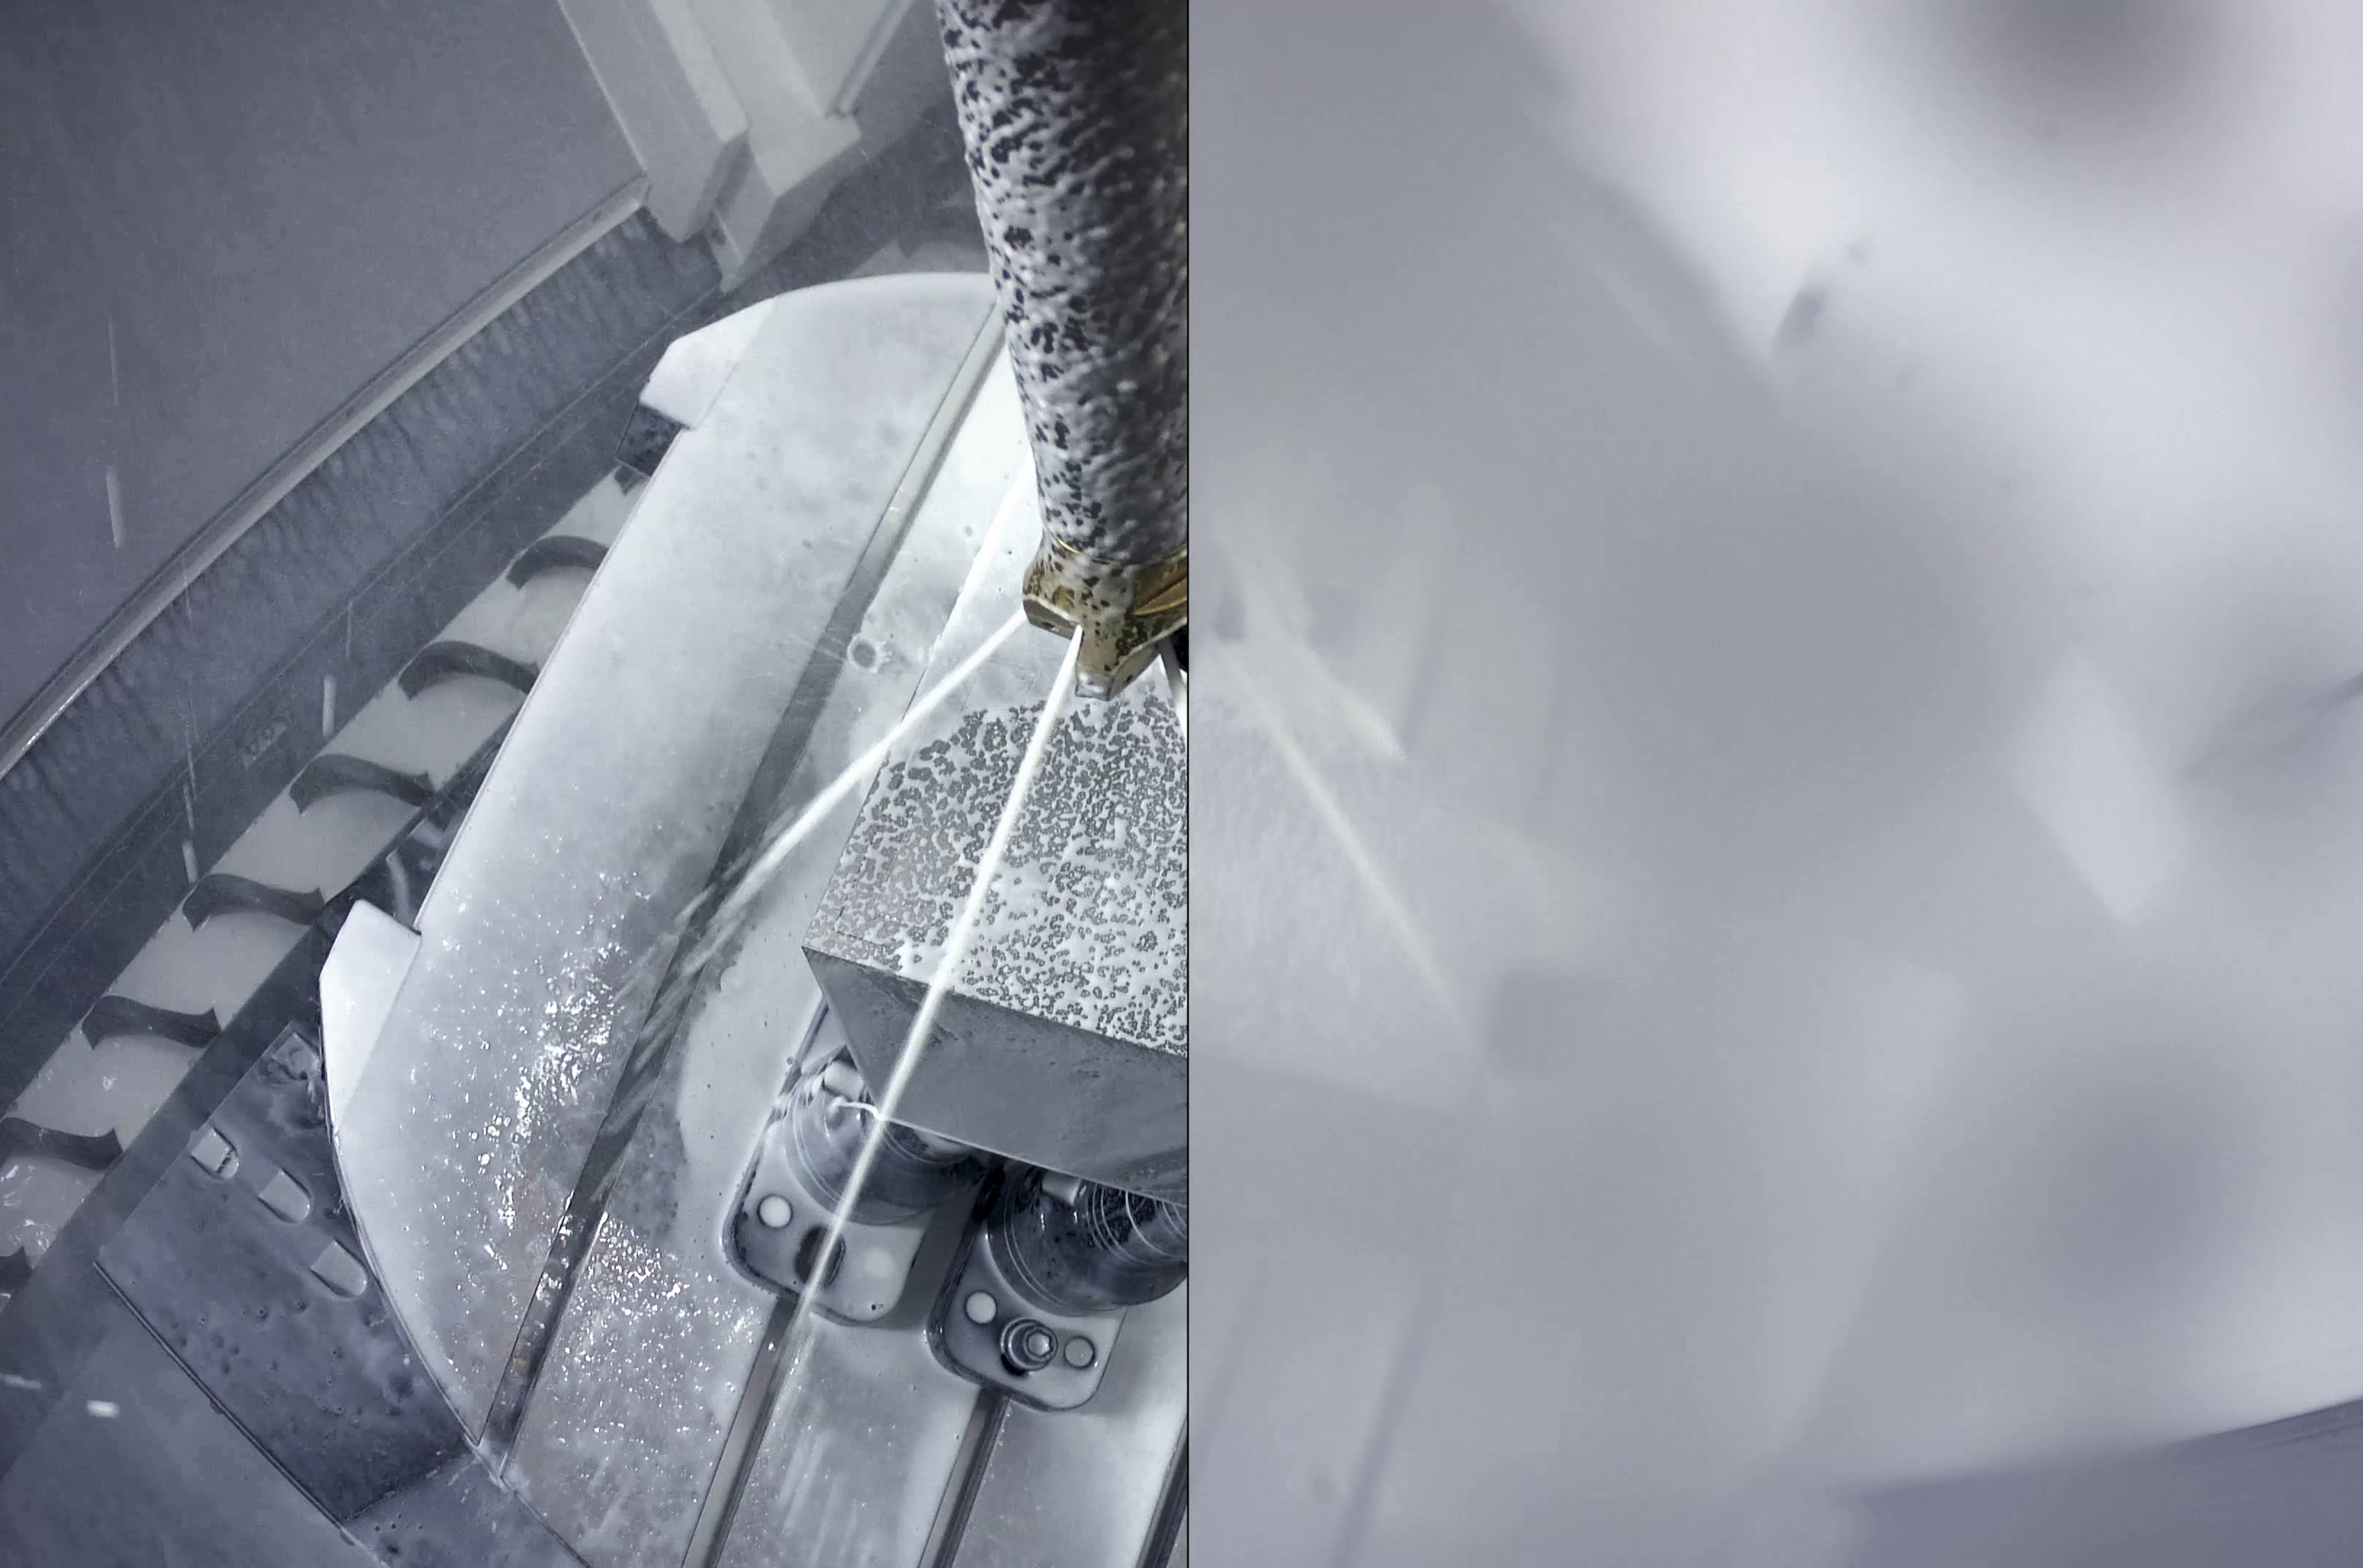
A blindfolded pilot? Unthinkable! But for many who operate machine tools, "flying blind" is still the norm: The machine tool itself is often a kind of "black box." Machining processes are run "blind" or by ear. It's no wonder that costly crashes occur time and again! Not to mention the other optimization potentials that are – quite literally – being overlooked.
How do crashes occur
-
How do crashes occur inside machine tools?
A crash inside a machine tool refers to an unwanted collision between moving parts of the machine and the workpiece being processed. Such a crash can have dire consequences: Not only can the workpiece and tool be damaged, but the machine itself can also suffer significant damage! Not to mention the costs incurred by machine downtime.
The potential causes of such crashes are numerous: In addition to incorrect CNC programming, a wrong tool choice, wear on mechanical components within the machine, incorrect machine settings (e.g., incorrect zero-point determination), or human operator errors (such as loading the wrong workpiece) can lead to a crash.
Many of these causes can be avoided through regular machine maintenance and well-trained operators. However, operators can only work with the information they have. If you’re running the machine solely by ear, you lack crucial optical information that could help prevent a crash in many cases!
Why are insights important?
-
Why is looking inside your machine tool important?
Anyone who has ever navigated through dense fog in the mountains knows how dangerous poor visibility can be. It’s like stumbling blindly through the fog. Similar conditions exist in many machine tools: Coolants, lubricants, and flying metal chips often block the view of the tool and workpiece.
But what if you could look through this fog of coolant and chips to get a clear view of the machining processes?
- Prevent crashes and breakdowns: Keeping an eye on the machining processes allows you to detect irregularities or deviations early on, intervene in time, and prevent damage to the tool, workpiece, or machine.
- Speed up setup processes: The clear view into the machine makes opening and entering the machine during setup unnecessary. This makes setup much easier, more efficient, and saves time.
- Avoid scrap costs and optimize workpiece quality: Only by directly observing the machining process can you monitor whether the workpiece is being machined to the desired dimensions and quality. Deviations can be detected early, preventing faulty series production.
- Increase workplace safety: Every time you enter the machine tool workspace, there are risks for personnel – even when the machine is at a standstill. Reliable insights from outside the machine significantly contribute to increased workplace safety.
- Optimize machining processes: The optical analysis of machining processes can yield new insights. For example, cutting speeds, feed rates, and tool utilization can be better adapted to the task at hand, making processes more efficient.
Make processes visible
-
How can machining processes be made visible?
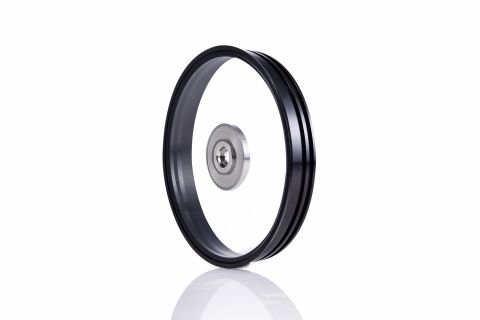
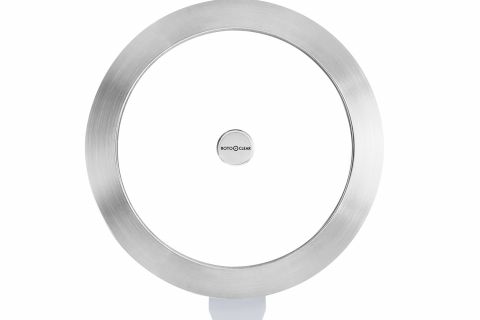
The secret behind the clear view from outside into the processes in your machine tool? Fast rotation!
This concept originally comes from maritime navigation: To ensure that captains and helmsmen always had a clear view in stormy weather, round, fast-rotating windows were installed in the control room. Centrifugal force flung away anything that obstructed the view, ensuring clear sight – even in the harshest conditions.
Spinning windows for machine tools
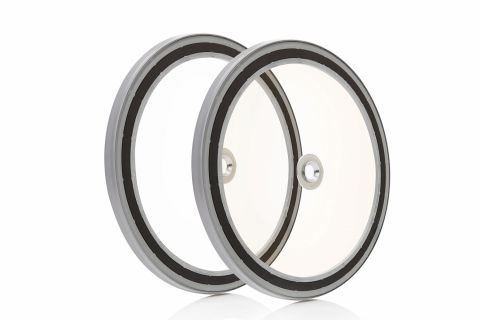
In 1983, Autz + Hermann GmbH, the parent company of Rotoclear, adopted this principle and applied it to machine tools. The first rotating window for machine tools hit the market and quickly became a worldwide success.
By the way: You can learn more about our company and the history of Rotoclear here.
The product has been continuously optimized and developed over the following decades. The third product generation – the Rotoclear S3 – is now considered the global technology leader in rotating windows.
Optical process monitoring with intelligent camera systems
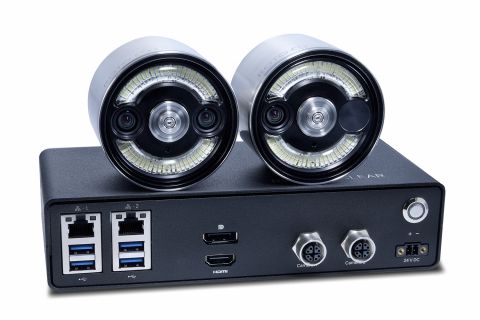
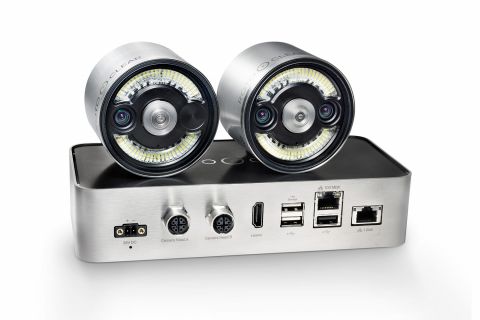
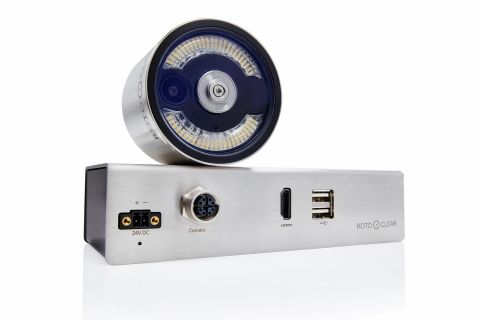
In 2019, Rotoclear applied the same principle to a new camera system, specifically developed for the harsh conditions inside machine tools. Here too, fast-rotating windows in front of the lenses ensure clear visibility inside CNC machines, despite spraying coolant and chips.
The advantage of the camera system? Depending on the placement of the cameras, machine operators and production managers can now observe machining processes from entirely new perspectives.
With Rotoclear C2, it is even possible to monitor the machining processes from the tool’s perspective itself.
The benefits of Rotoclear’s innovative solutions have also been discussed in industry publications such as “Der Maschinenbau”, “Wartung & Instandhaltung”, “DIMA”, “Management & Qualität”, “MAV” and “Organisator”.
Want to experience the benefits of Rotoclear’s solutions firsthand? We’d be happy to help!
Future potentials
-
What future potentials does optical process monitoring offer?
Intelligent camera systems, in particular, offer many potentials beyond their primary advantages for smart optimization of machining processes and automated machine tool monitoring.
The new Rotoclear C Pro provides all the necessary foundations: The camera system automatically records all processes, stores them in intelligent intervals, and allows for specific events to be analyzed later. This system lays the groundwork for comprehensive optical process monitoring.
With the help of AI, the optical information collected will enable entirely new possibilities for automated process monitoring in the future. One example of this is the automated evaluation of images from the machining process, which the IFW (Institute of Production Engineering and Machine Tools) at Leibniz University Hannover is already developing.
Moreover, the IPT Fraunhofer Institute in Aachen is researching how the new camera system can use AI to automatically check the current wear of the cutting tool.
The camera system’s open API also allows machine process states (e.g., tool changes) to be seamlessly integrated. For example, if the machine reports an error, the system can automatically mark and label the recordings.
These are just a few examples of the hidden potentials in optical process monitoring for machine tools. Do you have more ideas about how clear insights could help your machining operations? We’re excited to hear from you.
Summary
- If you want to increase safety and efficiency inside your machining tools, the first step is ensuring you have the necessary optical information as a basis for error analysis.
- The most cost-effective solution is a spinning window that provides a clear view into the machine.
- This technology translates to camera systems just as effectively.
- The future will consist of a combination of these windows with intelligent camera monitoring systems to largely automate error analysis.
